
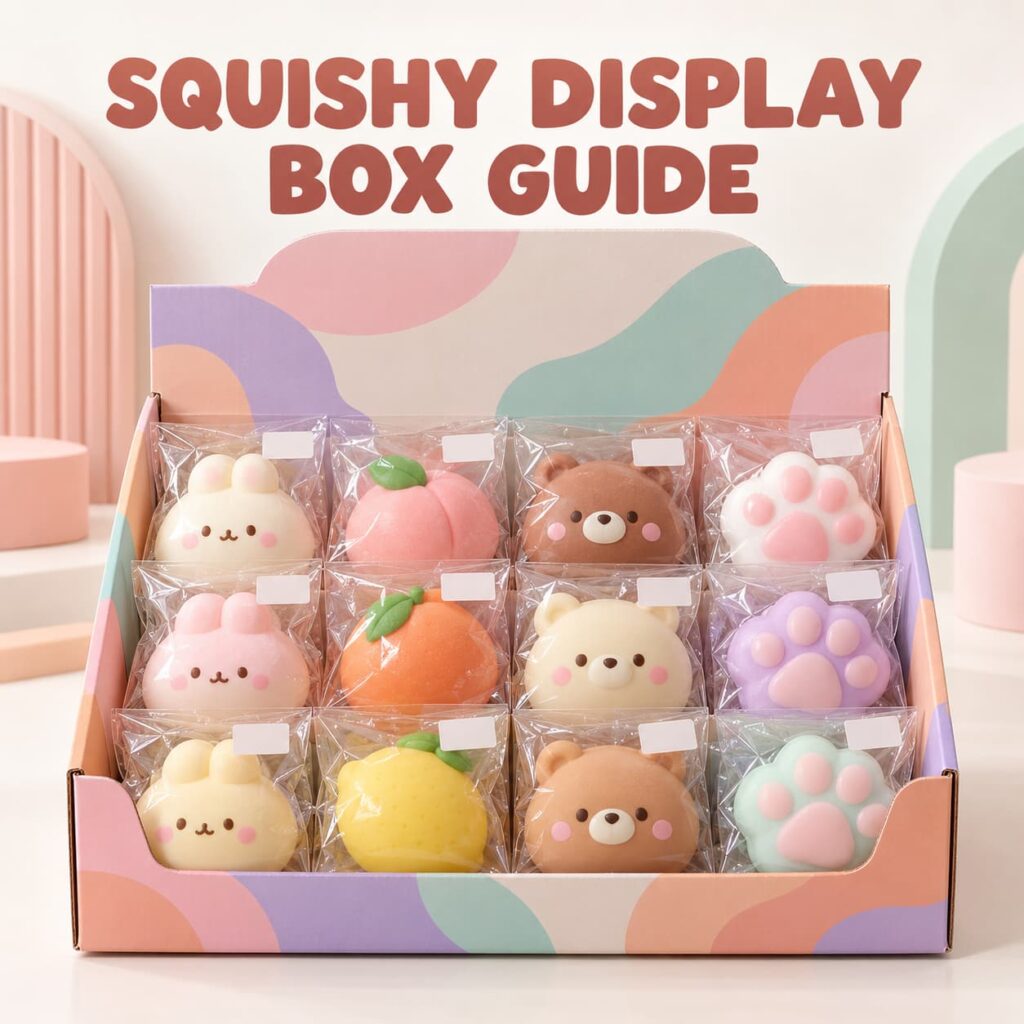
A squishy toy counter display can turn a group of small tactile products into a retail-ready selling unit. For a wholesale buyer, however, the display is more than printed board around an assortment. Its footprint, unit count, front-wall height, product orientation, artwork, barcode plan, inner protection, and master-carton arrangement all affect store use, freight, inspection, and repeat orders.
This guide explains how to specify squishy toy display box wholesale packaging as a complete packout system. It is written for importers, distributors, toy retailers, gift shops, stationery programs, online sellers, and private-label buyers planning PU foam, TPR/TPE, mochi, slow-rising, or mixed squishy assortments.
Start With the Retail Fixture, Not the Artwork
Before choosing colors or illustrations, define where the display will sit. A checkout counter, standard shelf, pegboard zone, service desk, and temporary promotional table create different limits. Record the maximum width, depth, and height available, whether a shelf sits above the display, and whether shoppers remove products from the front or top.
Also decide what the store needs from the pack:
- Counter display unit: compact footprint, easy access, visible front panel, and a header that communicates the range quickly.
- Shelf-ready tray: low front wall, stable product rows, and an outer case or cover that can be removed efficiently.
- Closed individual boxes in a tray: stronger control of product orientation and information, but more material and volume.
- Blind-pack assortment: requires controlled SKU ratios, consumer-facing identification, and a plan for incomplete displays.
- Refillable display: needs a durable structure and a written refill method rather than a one-time launch configuration.
Photograph or sketch the actual fixture and include dimensions in the RFQ. A beautiful display that does not fit the retailer’s counter is not retail ready.
Choose the Product-and-Display Relationship
Squishy toys do not behave like rigid boxed goods. Soft bodies can lean, deform, rub against artwork, or block products behind them. Clear bags can create glare or slide inside the tray. Rounded toys can roll when the display is partly empty. The display structure should therefore be developed around the finished packed product, not a nominal loose-toy measurement.
Open Loose Product Display
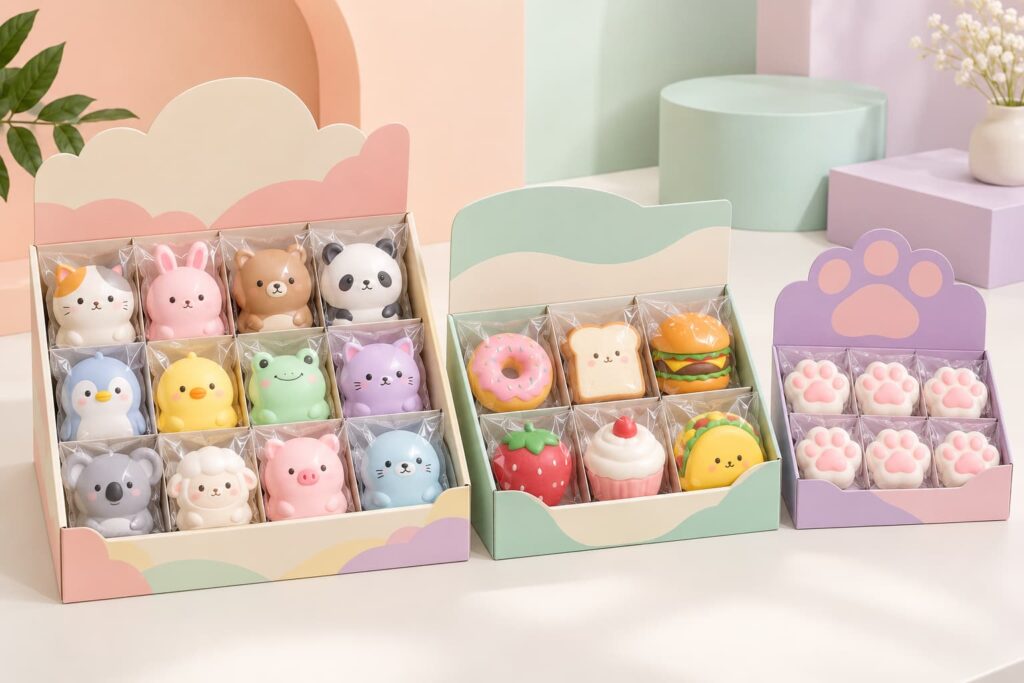
An open tray gives strong tactile and visual access, but it may not be appropriate for every product, market, age presentation, or hygiene expectation. Confirm whether each toy requires an individual bag, tag, label, or box. If the item is sold without a primary retail pack, determine where required product information and traceability details will appear.
Individually Bagged Products
Clear bags can keep products organized and provide space for a label or header card. Approve the bag size after the squishy has rested in the final package. A tight bag can deform a slow-rising shape or press painted surfaces against film, while an oversized bag can hide the display artwork and make rows unstable.
Individual Retail Boxes
Small window boxes or closed cartons can support premium presentation and consistent stacking. They also add panel area for product information and branding. The display must account for box tolerances, flaps, windows, and the direction in which the product should face when stocked.
When comparing options, request the finished dimensions and weight of the complete selling unit—not only the toy. The same squishy can produce very different display and freight results depending on its primary package.
Set the Unit Count From Real Dimensions
A common mistake is choosing “12 pieces per display” because it is familiar, then forcing the product and package into that number. Build the count from the finished packed dimensions, the available retail footprint, the desired row layout, and the total display weight.
Prepare at least two physical packout trials when practical. For example, compare a compact 6-piece display with a 12-piece display. The smaller option may fit more stores and reduce the cost of testing a new SKU, while the larger option may create stronger shelf impact and reduce replenishment frequency. There is no universal best count.
For each trial, record:
- units per row and number of rows;
- product orientation and spacing;
- finished display width, depth, and height;
- display weight when full;
- how easily the front and rear products can be removed;
- whether the display remains stable when half empty;
- whether the header remains visible behind the products;
- whether products recover their intended shape after unpacking.
Plan a Written Assortment Ratio
Mixed colors and characters can make a counter display more attractive, but “assorted” is not a complete specification. List every design, color, and package version. Define the exact units per display, displays per carton, and total units per SKU. State what happens when the order quantity does not divide evenly.
A useful assortment table includes:
- buyer SKU and supplier SKU;
- design or color name;
- units per display;
- position in the opening display photograph;
- displays per inner or master carton;
- total order quantity by variant;
- barcode or identification method for each selling unit;
- rule for substitution, overage, shortage, or discontinued variants.
If the assortment is sold under one barcode, confirm how the retailer identifies variants and replenishes the range. If each design has a separate trade-item identity, make sure the packaging, packing list, and carton records use the same SKU map. Do not let the display photograph become the only assortment instruction.
Engineer Visibility, Access, and Stability
The front panel should retain the products without covering the feature that makes them recognizable. Side walls should stabilize the load without making the rear row difficult to reach. The header should remain upright and visible, but it should not make the display too tall for the intended shelf.
Review these practical points on the assembled sample:
- Front visibility: Can shoppers identify the product shapes and colors from the normal viewing angle?
- Removal: Can a unit be lifted without tearing a bag, scraping a painted surface, or pulling the tray forward?
- Return: Can the product be placed back neatly if the shopper changes their mind?
- Half-empty stability: Do remaining products fall flat, roll, or expose an untidy cavity?
- Base strength: Does the bottom remain flat under the full packed weight?
- Edge finish: Are cut edges, folds, perforations, and tabs clean and suitable for handling?
- Transit conversion: If the shipper becomes the display, does the opening method avoid damaging the retail-facing panels?
FEFCO describes shelf-ready packaging through practical goals such as being easy to identify, open, place on shelf, access, and flatten for recycling. Buyers can use those principles as an operational review, while the packaging supplier determines the appropriate board, construction, and performance for the actual product and route.
Build Artwork Around the Structure
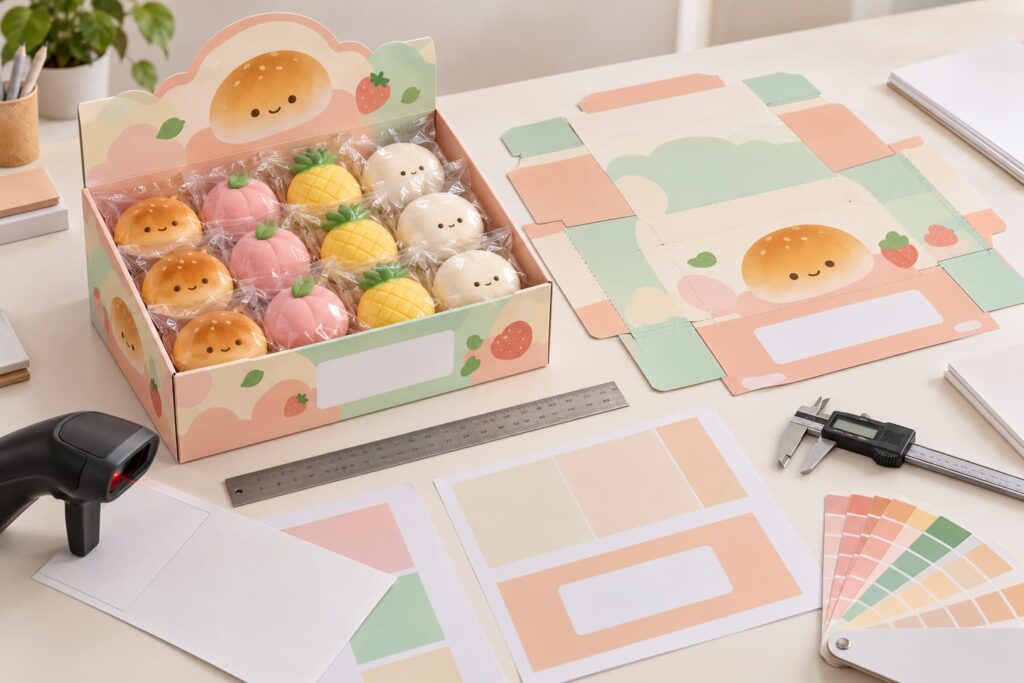
Do not approve a flat graphic before the dieline is stable. Key messages, faces, logos, warnings, and barcodes can disappear into folds, glue zones, perforations, or covered panels. Ask for an annotated dieline that identifies cut lines, fold lines, bleed, safe areas, glue areas, openings, tabs, and the final viewing direction.
Prioritize the Retail-Facing Panels
The header, front wall, and visible side panels have different jobs. The header can carry the collection name or visual story. The front wall should remain legible when products are loaded. Side panels can support color, simple brand cues, or handling information. Keep important legal or operational information on a panel that remains present throughout sale and use.
Protect Barcode Quality
GS1 guidance emphasizes consistent barcode placement and asks brands to consider the packaging process so the symbol is not obscured or damaged by an edge, fold, flap, or another packaging layer. Confirm with the retailer which level needs identification: the individual selling unit, the display, the master carton, or more than one level.
Use authorized barcode data and a suitable verification process. A visual proof cannot confirm scan performance. Print and scan a physical packaging sample in the intended location, and keep the correct artwork revision linked to the approved SKU.
Approve a White Sample Before the Printed Sample
A plain structural sample can expose packout problems before time is spent on final artwork. Load it with the actual packed squishies and review size, folds, locking tabs, front-wall height, header stability, and product access.
After the structure is approved, review the printed sample for color, registration, surface finish, scuffing, barcode area, text, language, warnings, traceability space, and retailer-specific content. Treat a change in unit count, product package, board, window, or tray geometry as a specification change that may require another physical review.
Keep a controlled approval set containing the final dieline, print proof, assembled display sample, opening photograph, packed dimensions, packed weight, assortment map, and product samples. This gives the production and inspection teams the same reference.
Connect the Display to the Master Carton
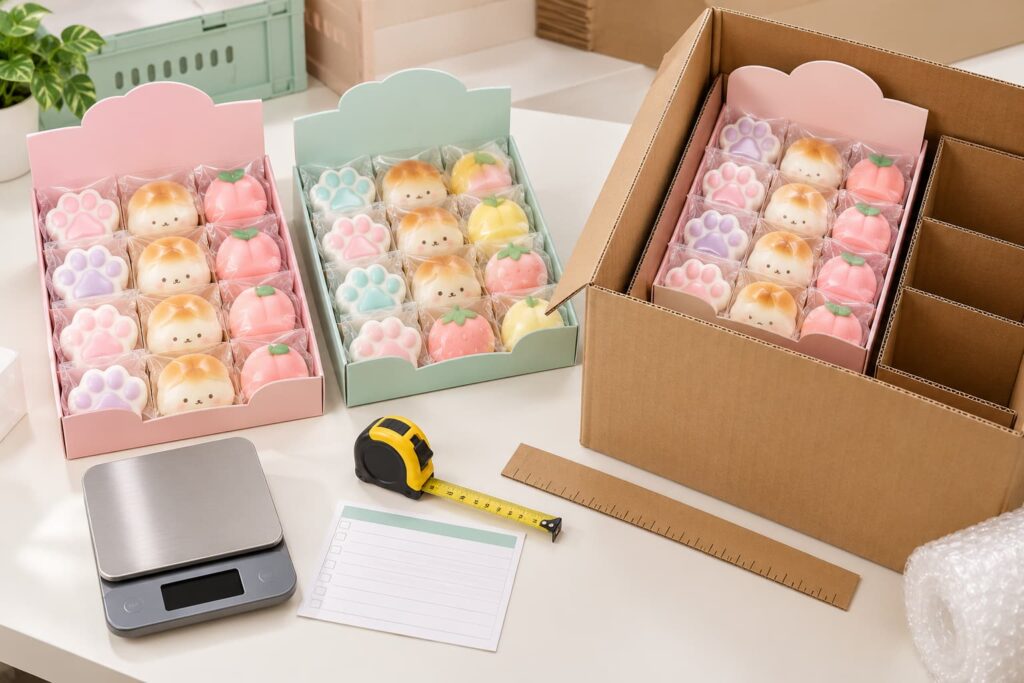
The display is only one layer of the shipment. A wholesale quote should also define how many displays enter each master carton, whether they ship flat or preloaded, how headers and corners are protected, and how the carton is oriented.
Compare two routes:
- Preloaded display: can reduce store setup, but the display must survive distribution with products already in position.
- Flat display plus separate products: can improve cube efficiency, but the retailer or distributor must assemble and load the display correctly.
For either route, request the number of displays and units per carton, inner protection, carton dimensions, gross and net weight, carton marks, and photographs of the complete packout. Verify these against the final shipment rather than an early estimate.
Do not claim that a package will survive transport based only on appearance. If transport testing is required, agree on the protocol, conditioning, sample preparation, route assumptions, and acceptance criteria with a qualified packaging or testing provider.
Coordinate Product Information and Traceability
The display, individual pack, and carton may each carry different information. The responsible business should determine the applicable product, toy, labeling, language, warning, responsible-party, and traceability requirements for the destination market and intended age group.
For U.S. children’s products, CPSC guidance states that tracking information must be ascertainable from marks on the product and packaging to the extent practicable, and that the domestic manufacturer or importer is responsible for compliance. This is not a reason to copy a tracking block from another toy. Build a version-specific information plan with the importer, compliance specialist, and packaging supplier.
KadiYunmengToys’ squishy toy compliance-document checklist explains how product identity, packaging artwork, evidence, and production records should match.
Inspect the Display as a Selling Unit
Pre-shipment inspection should include complete displays selected from the finished shipment. Check the toy, primary pack, display, assortment, and carton together.
- correct dieline and artwork revision;
- display dimensions, unit count, and packed weight;
- correct SKU and color ratio in every sampled display;
- clean folds, locks, glue joints, perforations, and cut edges;
- upright header, flat base, and stable side walls;
- product orientation and visibility;
- bags, boxes, seals, labels, and barcode areas;
- absence of crushed corners, scuffs, stains, or moisture damage;
- master-carton count, dimensions, weight, marks, and sequence;
- consistency with the approved packout photographs.
Use the broader squishy toy quality control checklist to connect packaging inspection with product appearance, squeeze behavior, quantity, and shipping records.
Send a Quote-Ready Display Packaging Brief
Include enough information for the supplier to quote the same system you intend to approve:
- product SKU, shape, material, dimensions, and packed dimensions;
- individual bag, box, label, or tag requirements;
- target retail fixture and maximum display footprint;
- target units per display and number of designs;
- exact assortment ratio;
- display style, board direction, artwork scope, and finish preferences;
- barcode ownership and required identification levels;
- intended age group, destination market, and sales channel;
- displays per carton, preloaded or flat-pack preference, and shipping route;
- sample stages, inspection expectations, and requested carton data.
Review the custom squishy toy service and sample-to-production process before sending artwork. Packaging should be discussed alongside the toy sample, not after the product has been finalized.
Frequently Asked Questions
How many squishy toys should go in a counter display?
There is no universal count. Use the finished packed-product dimensions, target counter footprint, total weight, product access, desired visual impact, and retailer case requirements. Compare physical packout trials rather than choosing a familiar number first.
Should the display ship already filled?
A preloaded display can reduce store setup, while a flat display can reduce shipping volume. The better option depends on the structure, route, retailer process, labor, and protection requirements. Quote and sample both routes when the trade-off is important.
Can different characters share one display box?
Yes, but define each variant, exact ratio, opening position, SKU or barcode logic, replacement rule, and carton totals. “Assorted” without a written map creates avoidable receiving and replenishment problems.
Where should the barcode be placed?
The correct level and location depend on the selling unit, retailer, scanning environment, packaging structure, and applicable GS1 guidance. Keep symbols away from folds, flaps, edges, distortion, and covering layers, then verify the physical printed sample using the buyer’s agreed method.
Is a digital rendering enough to approve a display box?
No. A rendering can support artwork review, but a physical structural sample is needed to check product fit, access, stability, folds, locking tabs, display height, and the relationship with the master carton. Approve the printed, loaded version before bulk production.
Plan a Retail-Ready Squishy Display
KadiYunmengToys supports discussion of custom squishy products, colors, primary packaging, display trays, artwork, samples, and wholesale packout. To request a review, send the product reference, packed size, quantity, target display count, assortment, retailer or sales channel, destination market, and carton requirements through the KadiYunmengToys inquiry form. A complete brief helps align the toy, display, and shipment before production.